Mobile Repairing Tools
SMD Rework Stations
DC Power Supplies & Boot Cables
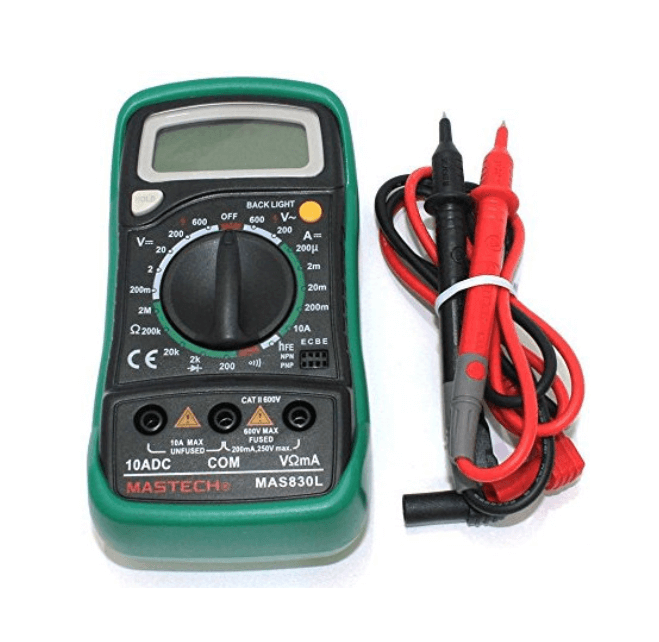
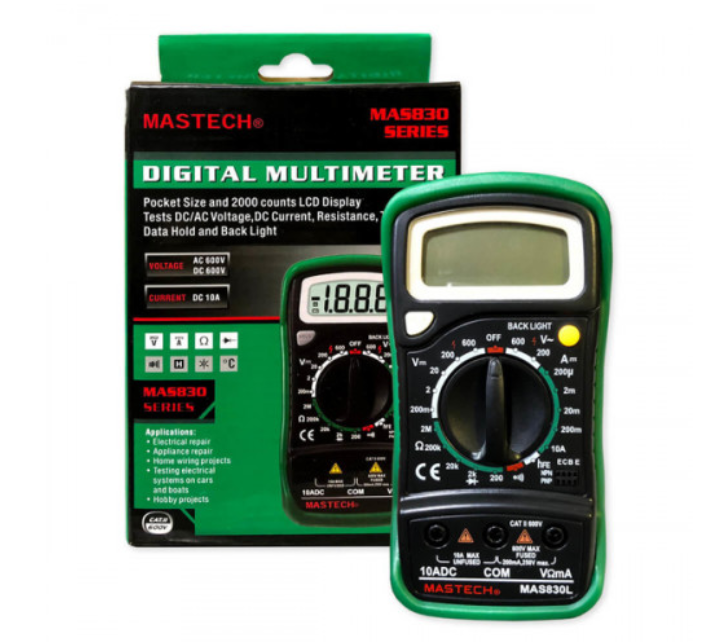
Measuring Instruments & Parts
LCD Screen Separator Machines
PPD Solder Pastes & BGA Flux
Wire Cable Tape
Nipper Cutters
Other Tools
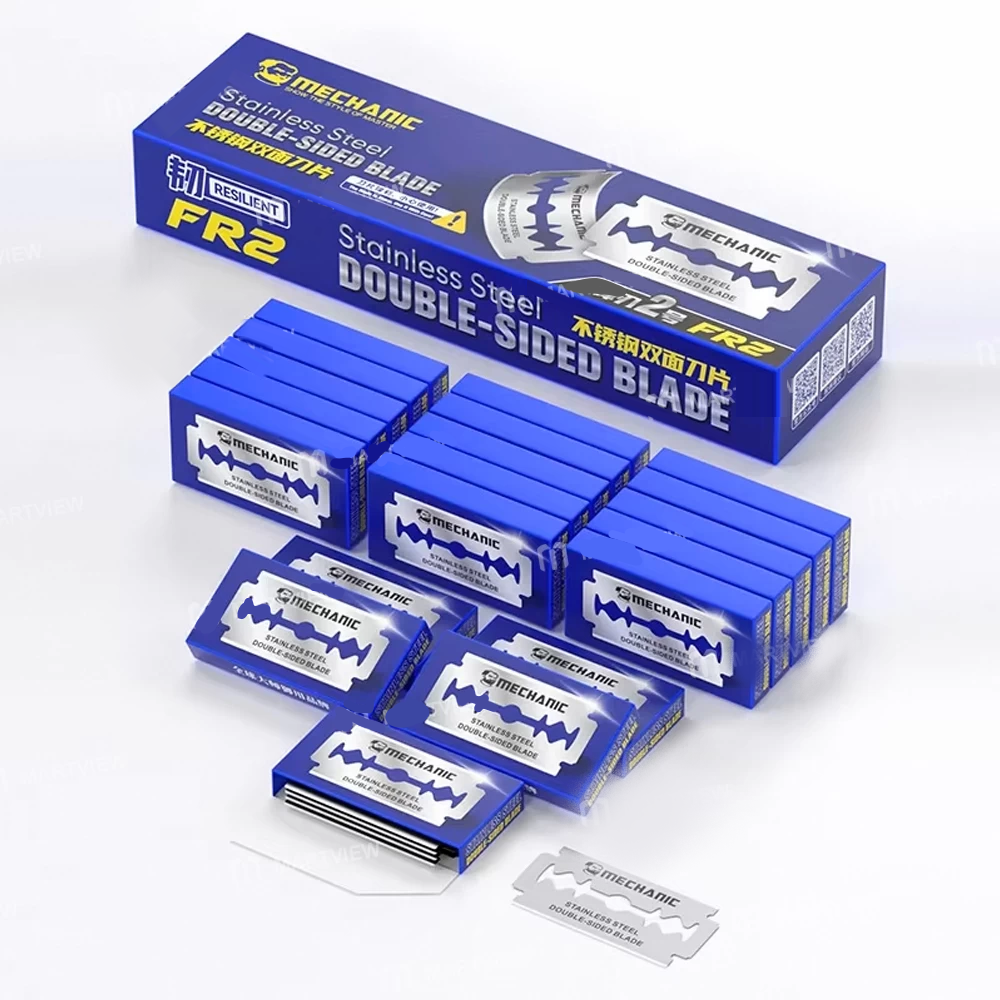
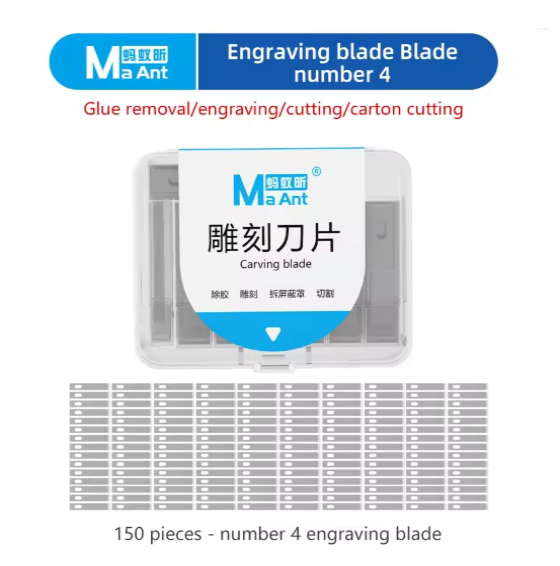
Mobile Blade
Mobile PCB Stands
Mobile Repairing Pad
Mobile Opening Tools
Solder Paste and Flux
Refurbished
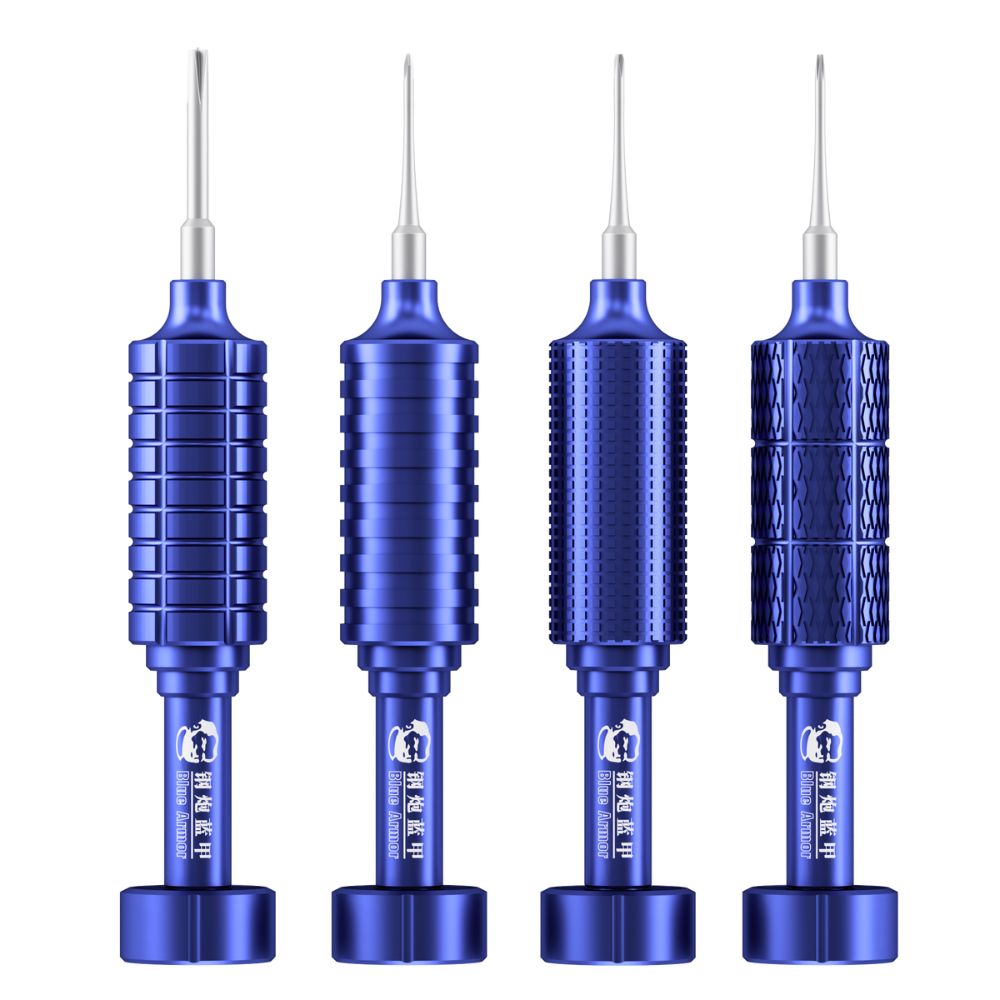
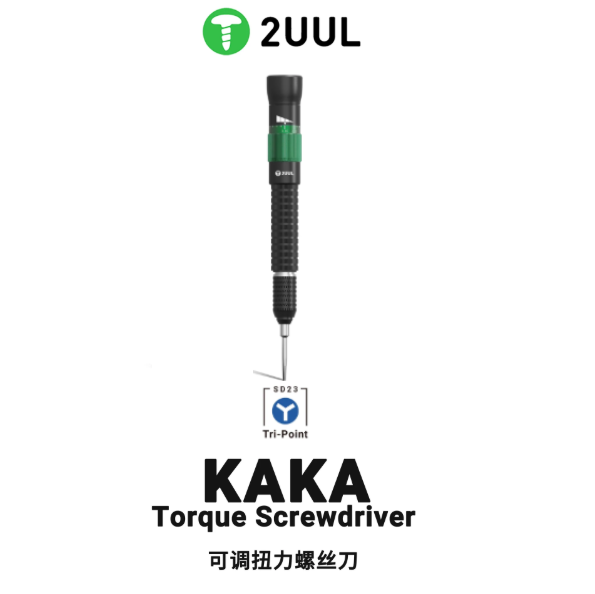
Mobile Screwdriver Sets
Mobile Repairing Tweezers
Power Supply Cables
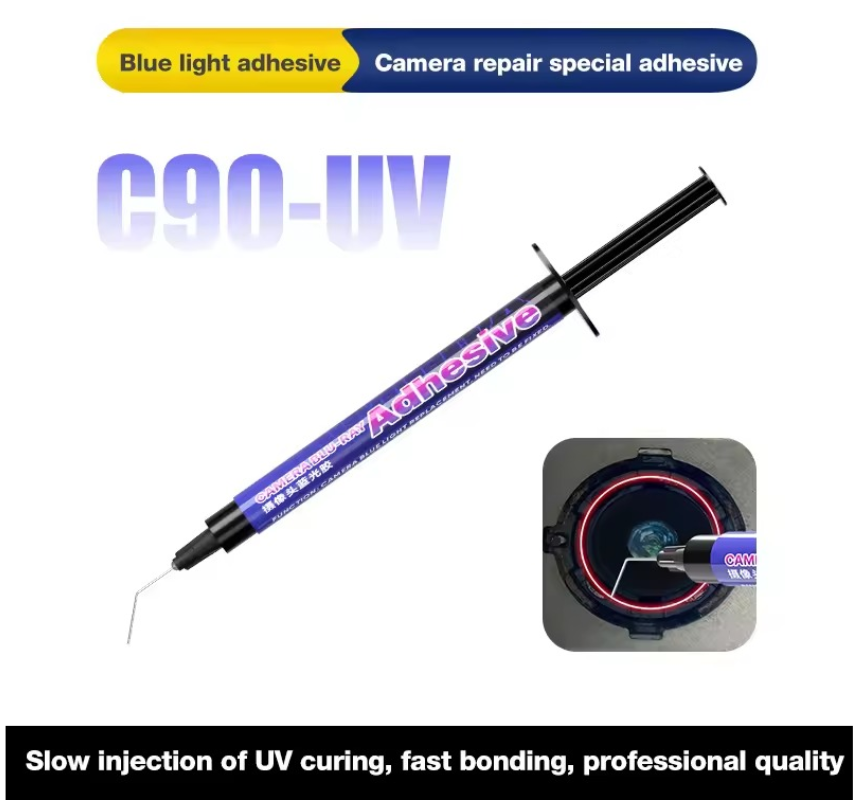
UV Curing Lights
Mobile Cleaning Cloth
Microscopes for Mobile Repairing
Activation Board
Soldering Irons & Soldering Tool Kits
Glue Remover Motor
Electric Screwdriver
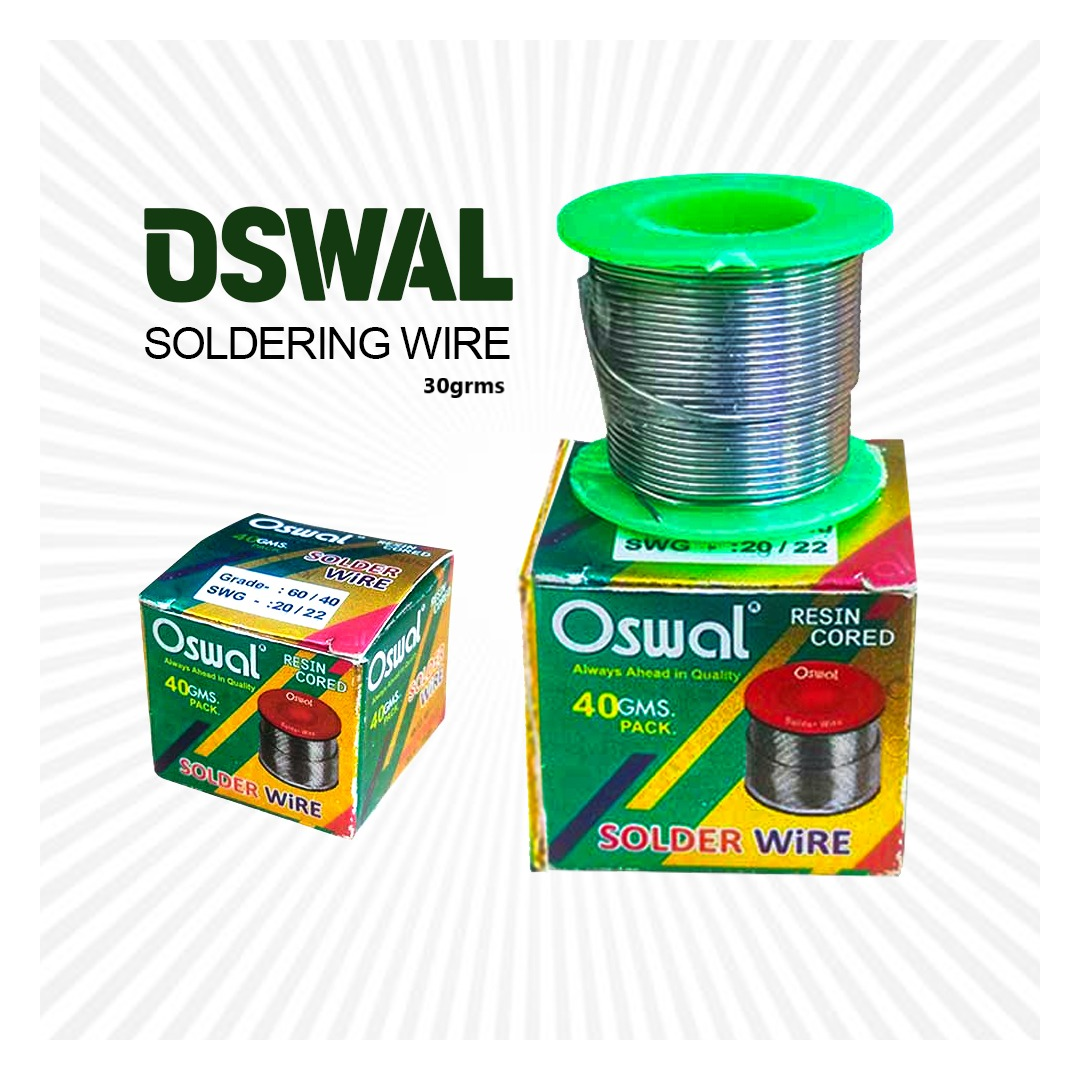
Soldering Desolder Wires
Cleaning Brushes
Touch/Glass/OCA Glass
Mobile Spare Parts
Reballing Stencils
OCA Machine
Mobile Accessories
Software
OCA Sheets & Polarizers
CO2 Laser and Plotter
Comming Soon
Mobile Motherboard
Mobile Phone Ic