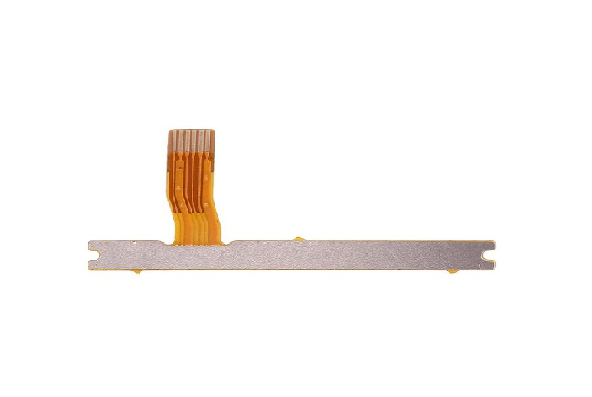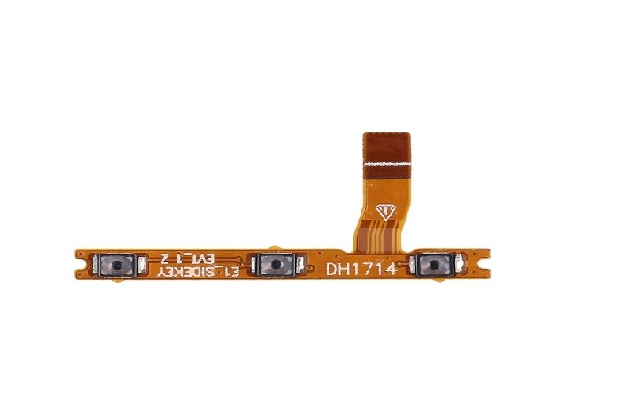


Replacing the NOKIA 3 VOLUME + POWER FLEX can resolve issues related to volume control and power button functionality. Here's a step-by-step guide on how to replace the Volume + Power Flex:
Preparation: Power off your Nokia 3 and gather the necessary tools for the repair, including a Phillips screwdriver, plastic pry tools, and a replacement Nokia 3 Volume + Power Flex.
Disassembly: Use a plastic pry tool to carefully remove the rear cover of the Nokia 3. Be gentle to avoid damaging any internal components. Once the cover is removed, disconnect the battery to prevent any accidental damage during the repair.
Locate the Volume + Power Flex: The Volume + Power Flex is typically located near the top of the device, close to the physical volume buttons and power button. Identify the flex cable and its connector on the motherboard.
Removal: Use a plastic pry tool to gently disconnect the connector attaching the Volume + Power Flex to the motherboard. Take care not to damage the connector or the motherboard. Remove any adhesive or clips securing the flex cable in place.
Installation: Align the replacement Nokia 3 Volume + Power Flex with the connector on the motherboard. Carefully attach the connector, ensuring it is firmly seated. Secure any adhesive or clips to keep the flex cable in place.
Reassembly: Reconnect the battery and any other connectors that were disconnected earlier. Carefully position the rear cover back onto the device, ensuring all components are properly aligned.
Testing: Power on your Nokia 3 and test the volume buttons and power buttons to ensure they are functioning correctly. Confirm that you can adjust the volume and power the device on and off without any issues.
Final Check: Perform a final visual inspection to ensure all components are securely in place. Test the device's overall functionality to ensure that the repair was successful.
